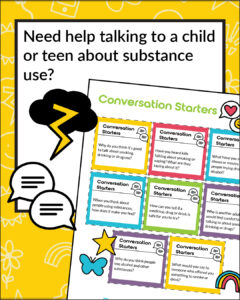
get crafty and creative while starting conversations with your children
This month, On Our Sleeves is focusing on growing happiness in your child by talking about gratitude. This free activity will spark conversations, encourage children to reflect, and help them think about their own happiness.
This activity is perfect for children of any age. Parents can use it at home, teachers can use it in the classroom, counselors can use it in their office…the possibilities are endless!
To get started, download our Gratitude Jar Activity. The Gratitude Grid will get your child started and thinking about what makes them happy. The icon version of the grid is perfect for younger children to remove the barrier of not being able to read and help them feel empowered to choose what makes them happy. Your child can also create their own square by writing or drawing what makes them happy.
For parents: This activity can give your child a great creative break from technology. You may be surprised by what you learn about your children and what makes them happy. Using Velcro can make it easy for your child to change their mind from day to day as they learn and think more about gratitude.
For teachers and counselors: Teachers can use this activity in their classroom or calming corner. The Velcro can allow your students to continuously change their answers. Or you can encourage one student a day to complete the jar and share it with the class. You can use the squares as a starting point, but feel free to encourage creativity and thought from the class.
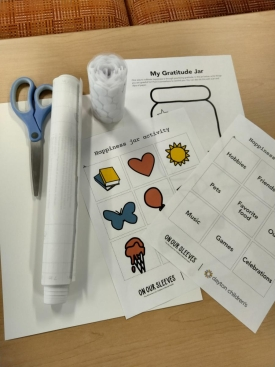
Supplies you’ll need:
- Gratitude Jar worksheet (also available in Spanish)
- Scissors
- Velcro
- Optional: Lamination Paper
- Optional: Small Poster Paper

Step 1:
If using lamination paper, laminate both the grid and jar. You should laminate both the front and back of both sheets.
Step 2:
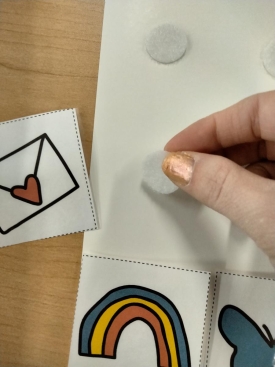
Encourage your children (if they are old enough to use scissors) to cut the grid into individual squares.
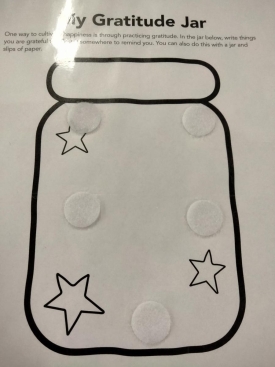
Step 3:
If needed, cut the Velcro into small enough pieces to stick on the back of each square. Also attach a few small pieces of Velcro to the jar.
Optional: You can add Velcro to every square and place them all on posterboard for storing or easy display.
Step 4:
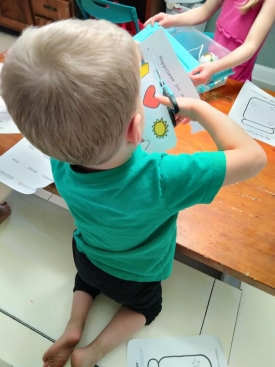
Discuss with your children what makes them happy, or what they are grateful for. Show them how to fasten their corresponding squares to a spot on the jar.
Now your children can feel free to change their jar from day to day. This can help you talk with them about how they are feeling and what is making them happy or not happy.
How Emily started the conversation with her children
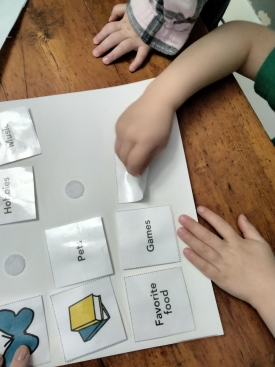
I am a mom of three children between the ages of 1 and 6. I introduced this activity to my children with great expectations. First, I asked them if they knew what gratitude meant and they just looked at me with wide eyes. I had the picture graphs laid out in front of them, and my son immediately started pointing at all the pictures on the page that he enjoyed. I told them “You are right, gratitude is things you enjoy and are THANKFUL for.”
When we first started the project, they were eager to talk about which of the pictures were their favorites. My son took great pride in showing off his cutting and gluing skills. My daughter was had plenty of grand, creative ideas that we had to discuss…and eventually she was convinced to use some simple glitter glue and paint markers.
While my kids worked and got crafty, I started talking with them some more about what they were thankful for. While the conversation only lasted a few minutes, I felt it was enough to start the foundation of discussing gratitude that we can continue to build on in the future.
What I also loved about the project was that it gave my children hours of creative time without technology. Even when the jar was done, my older children continued to color and craft for another hour! I could tell the activity was building their confidence and creativity which, as a mom, I am grateful for. I was also happy about the quality time I got to spend with my kids and the extra time I had to step away to do housework as they continued their creative ideas.
What I learned most of all, and hope most parents take away, is that these projects are not about the end product. In fact, in times like this, the process is much more important. It’s important to remember that you’re planting the seeds of teaching about gratitude, so it’s okay if they don’t get It right away. Just having it in the classroom or the home or the office will spark the beginning of these thoughts.
Share your story
If you give this activity a try with your own family, students or other groups send a photo to onoursleeves@childrensdayton.org. Tell us how your activity went, what you learned, and how your children responded. We may use your photos and stories to share in the future, so be sure to remove any identifying information if you’d like to keep that private.
Ways to get involved:
• Become an advocate
• Join our e-community
• Partner with us
• Donate to the cause
• Share your story